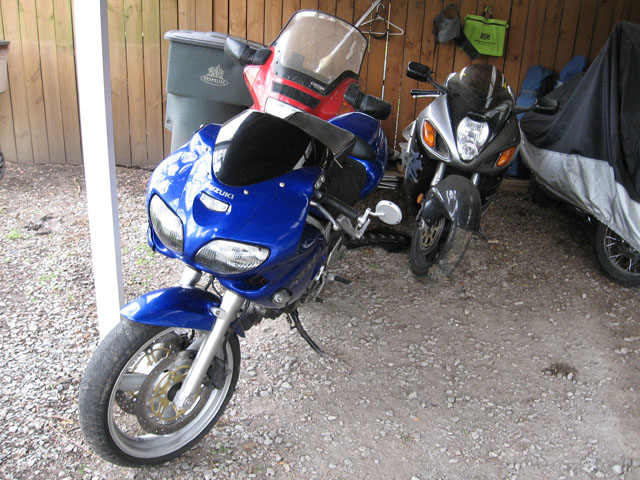
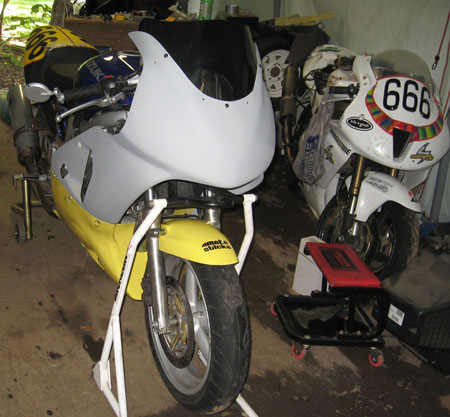
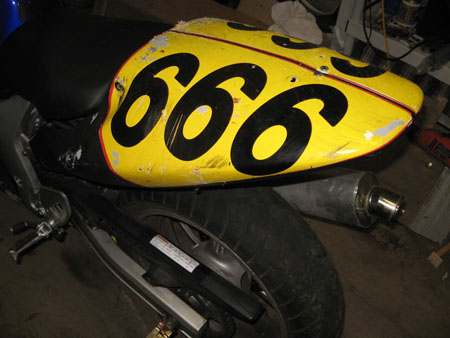
Before I started track prepping
The SV650 is ready for a street ride.
This SV650 came to be mine
| Before I started track prepping The SV650 is ready for a street ride. |
I sold my old, disabled Gold Wing for a song, just
 My RC51 watches from the sidelines, wondering why I'm wasting my time with that Halfabusa. |
Much of the early effort I put into this was in carefully checking my wiring so that (1) I knew for sure I was tapping into the correct wire on the harness, and (2) I knew the circuit worked as expected when each component was done. I used a wiring diagram for reference, but it wasn't always easy to tell for sure how to connect things. I didn't want to take any chances on messing anything up in the process.
I began by removing all the street plastic. Having had the faring off before I already knew how to get that part done quickly. Disconnecting and removing the instrument panel, lights and stock faring stay was relatively straightforward, although I went to some unnecessary effort in removing the lights from the assembly at first. I then realized that all I really had to do was disconnect the wiring harnesses and take out the two bolts that secured the faring stay to the frame. The entire assembly came out as a unit. Sweet!
The "Racing instrument panel" is just a 5" Sunpro tachometer with some idiot lights mounted on some L shaped plastic. The Sunpro tach comes
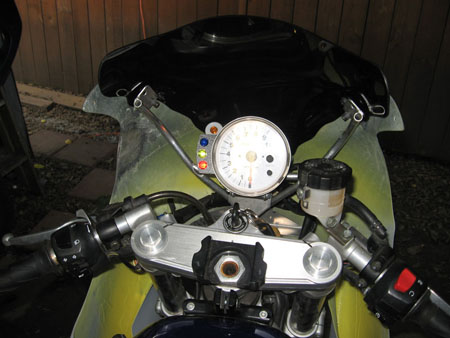 The "Instrument Panel" - A Tach and 4 idiot lights. |
What you can't see in this picture is the big nest of barrel connectors just behind the tach. There are eight connectors back there, which is really a lot, and each wire is labeled with a tag on both sides of the connectors so I can reconnect them. That adds up to a lot of space they take up, which isn't so bad for the current application but I have a strong hunch all that crap won't tuck nicely inside the street faring when I decide to go back to street mode. My plan is to use pair of 9 pin "D" connectors (like old fashioned RS232 connectors use) to clean up that mess.
The idiot lights in the picture are: Red=Oil, Green=Neutral, Blue=Water Temp, Yellow=Fuel. The shift light is actually inside the dial of the tachometer but it's hard to see in the picture.
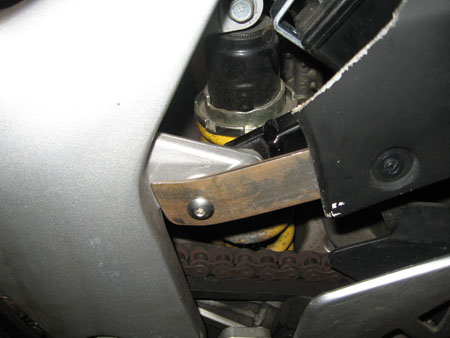
I then removed the stock passenger footpegs and mounts. Since the right passenger footpeg mount doubles as the exhaust hanger it was necessary
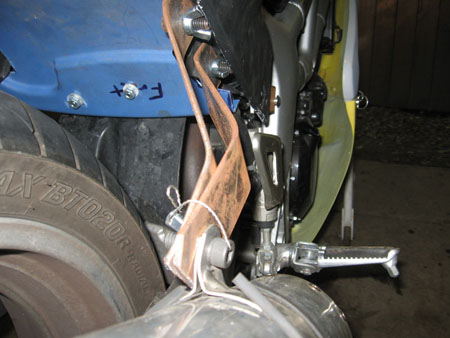 The fabricated exhaust hanger. Looks sturdy enough... |
Unfortunately, Suzuki decided to use the stock undertail for more than just a pretty cover. It combined the functionality of a battery carrier,
 The ugly (but functional) undertail |
The bodywork kit I bought was used and the previous owner had crashed, evidently destroying the tail section and damaging the faring upper. He had repaired and primered the upper before putting all this stuff in storage. So I didn't have a tail section.
Fortunately for me, sitting nearby was a set of rashed up plastic that I had (mostly) destroyed in the gravel trap at Barber while it was
 This undertail used to be on my RC51. |
Here is more of my fabrication work on display. Using the same steel stock I used for the exhaust hanger I made brackets to secure the tail
 Securing the tail section. |
You can see the bike's internals behind these brackets, but it's not anything I'm worried about especially at first. I plan to spend some time over the winter cleaning it up and making it look prettier. Anyone who knows me would quickly recognize that "pretty" isn't the name of the game for me, especially as pertains to racing equipment, but I do plan to make it look nicer than it does at the moment.
If you look closely at those bike internals, just over the rear shock you can see the battery cradle I made. This was fashioned from two 5" L brackets I also picked up at Lowes. I bent one end of each bracket to wrap around the bottom of the battery and drilled holes in the tips so I could bolt the plastic undertail I made onto each of them, completing the carrier for the battery. The L brackets are bolted to the flat surface that formed part of the original battery carrier.